前言:
layoutinflater是我们处理view时经常用到的方法,如往布局里动态添加view,recycleview的item创建,自定义view的构造方法中…
所以这篇文章就是来好好介绍学习一下view inflate(int resource, ViewGroup root, boolean attachToRoot)
这个方法
rootlayout根布局和LayoutParams
在学习layoutInflater之前,我们必须先了解一下这两个知识
RootLayout
根布局其实就是ViewGroup的最外面的一层布局,他也是相对的概念,他是相对他子view的根布局,每个view都是加在一个容器里,也就是viewgroup。
1 | <LinearLayout xmlns:android="http://schemas.android.com/apk/res/android" |
这段代码中LinearLayout就是button的根布局,而将这个整个加入到另一布局中,如:relativeLayout.addview(linearlayout)
1 | <RelativeLayout |
那么这时RelativeLayout就是LinearLayout的根布局。
那么根布局有什么用呢?别急,你还需要学习一下LayoutParams,才能弄明白。
LayoutParams
Layout Parameters :布局参数。其实我们平时再用xml写布局时也一直在写他:如上面button的layout_width,layout_height,都是他的layoutparams,即xml里所以的layout_***都是在设置该view的layoutparams。接下来看一下官方解释:
1、LayoutParams are used by views to tell their parents how they want to be laid out.
LayoutParams是View用来告诉它的父控件如何放置自己的
2、The base LayoutParams class just describes how big the view wants to be for both width and height.
基类LayoutParams(也就是ViewGroup.LayoutParams)仅仅描述了这个View想要的宽度和高度
3、There are subclasses of LayoutParams for different subclasses of
ViewGroup.
不同ViewGroup的继承类对应着不同的ViewGroup.LayoutParams的子类
所以,layoutparams是其实设置的是该view的父布局(根布局)提供给他的LayoutParams,然后,根布局就会根据子布局设置的layoutParams作出相应的处理,来给他宽高和应该放置的位置,
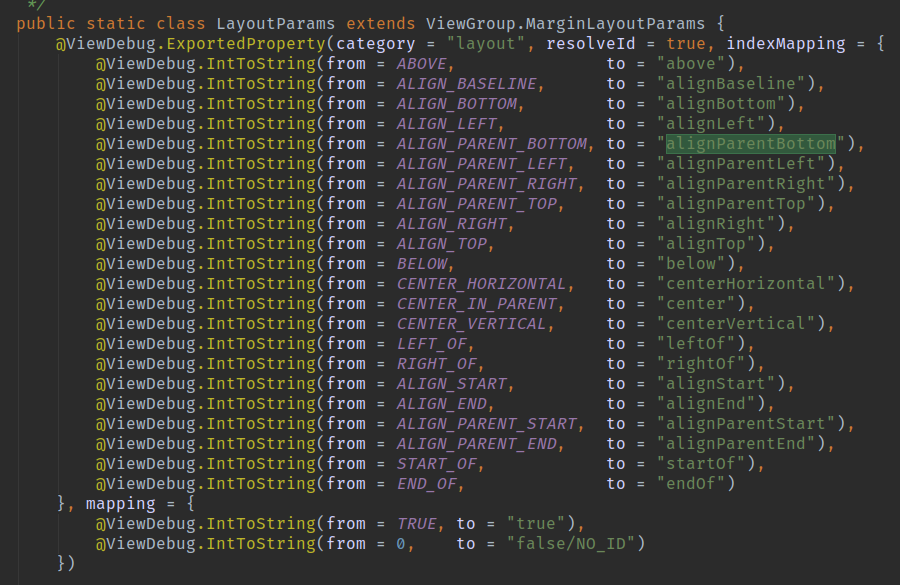
如上面代码中linearlayout设置了layout_alignParentBottom="true" ,这其实就是relativeLayout的LayoutParams的一个属性,然后当把他加入relativelayout后,就会把它放到alignParentBottom
LayoutInflater
明白前面俩概念后,再学习layoutinflater就很简单了。 他就有几个重载函数,但最后都指向了下面这个函数:LayoutInflater.inflate(@LayoutRes int resource, @Nullable ViewGroup root, boolean attachToRoot)
参数解释:
- resource: 就是布局资源id,如
R.layout.item_test,即要动态添加的布局的xml - root :就是之前所讲的根布局,其实这个是设置根布局的意思,并不是就把上一个参数resource指定的view添加了这个root根布局里,注意只是设置,给这个view设置了他的相应根布局的LayoutParams。
可以设置为Null。如果为Null,那新布局(第一个参数)的根布局参数(注意:是新视图的根布局)就不会被设置成任何布局参数,只有等添加到父布局时候,重新赋给这个根布局新的布局参数,并且第三个参数将毫无作用。我们在第三个参数讲解第二个参数在非Null情况。这时会调用generateDefaultLayoutParams()方法,不同个viewgroup会重写这个方法,从而给其子布局设置不同的默认布局参数。 - attachToRoot: 这个参数才是设置是否要把view加入到root中,如果为true,则直接把view加入到root中,如果为false,则不会添加,等待后期自己手动addview添加
如果我们不需在onCreateView()中将View添加进ViewGroup,为什么还要传入ViewGroup呢?为什么inflate()方法必须要传入根ViewGroup?
原因是及时不需要马上将新填充的View添加进ViewGroup,我们还是需要这个父元素的LayoutParams来在将来添加时决定View的size和position。
总结
所以通过上面的解释,可看出,root参数十分重要,一定要正确赋值,否则可能会导致有些layout_不起作用,或布局的宽高位置跟你设想的不一样。一般有以下几个使用建议:
如果可以传入ViewGroup作为根元素,那就传入它。
避免将null作为根ViewGroup传入。
当我们不负责将layout文件的View添加进ViewGroup时设置attachToRoot参数为false。
不要在View已经被添加进ViewGroup时传入true。
自定义View时很适合将attachToRoot设置为true。